Custom Health Care Boxes That Make Your Wellness Brand Impossible to Ignore

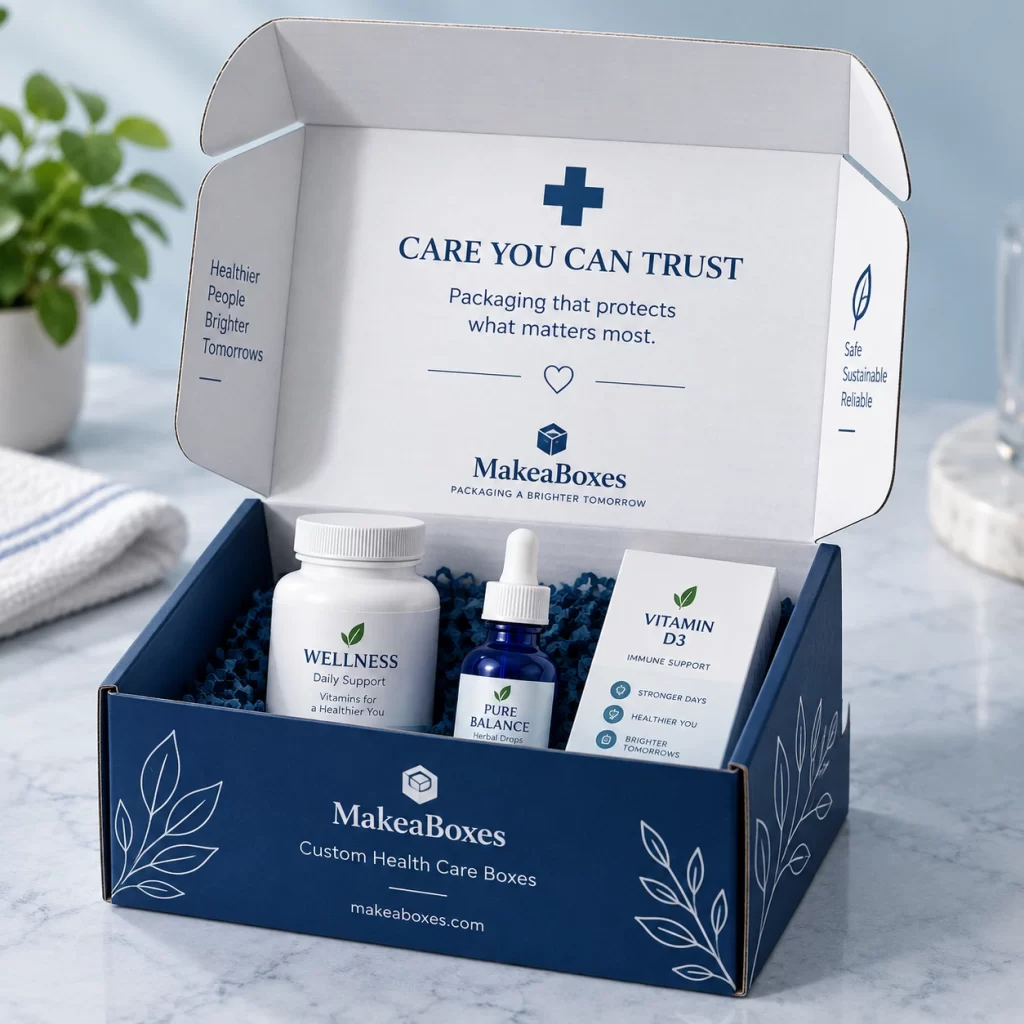
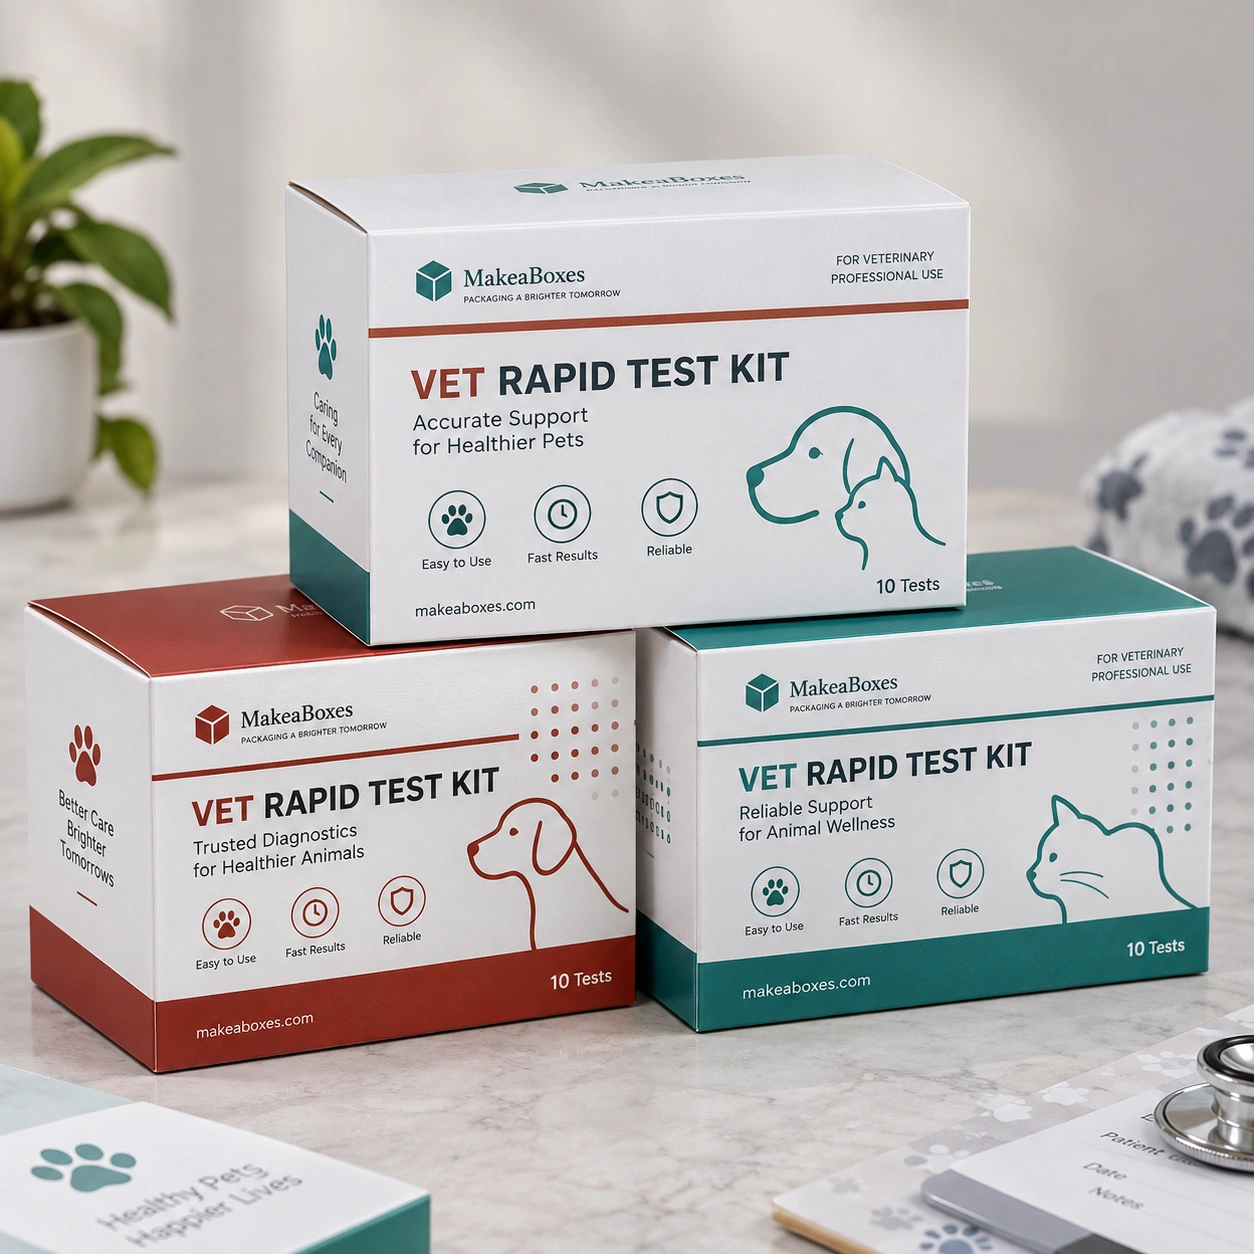
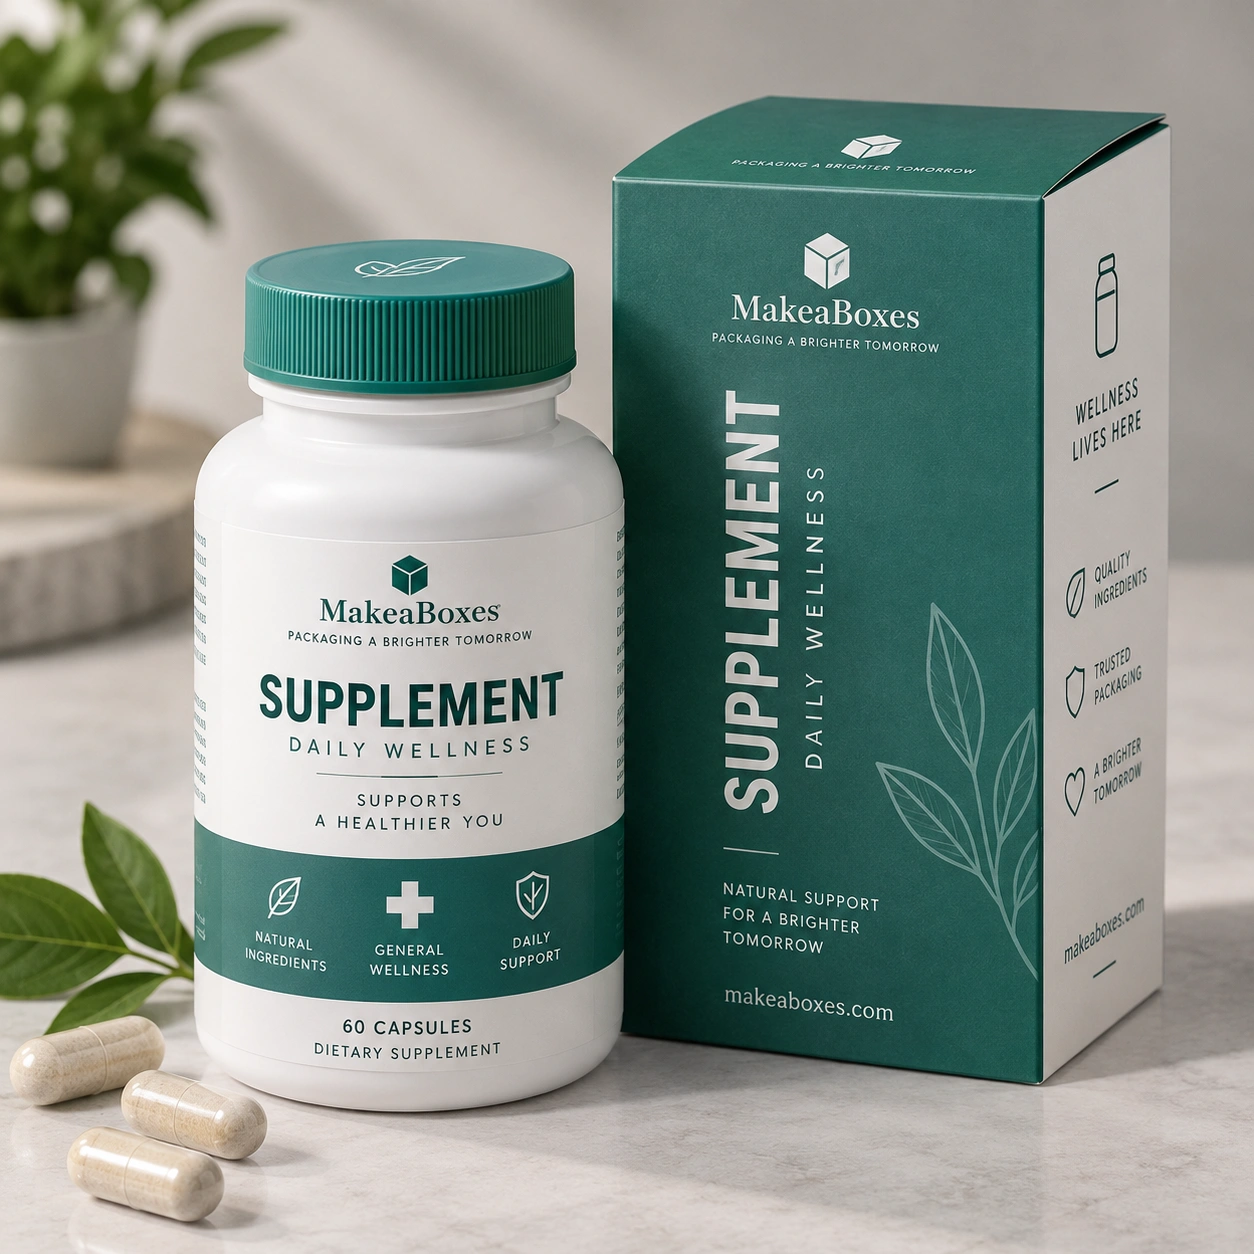
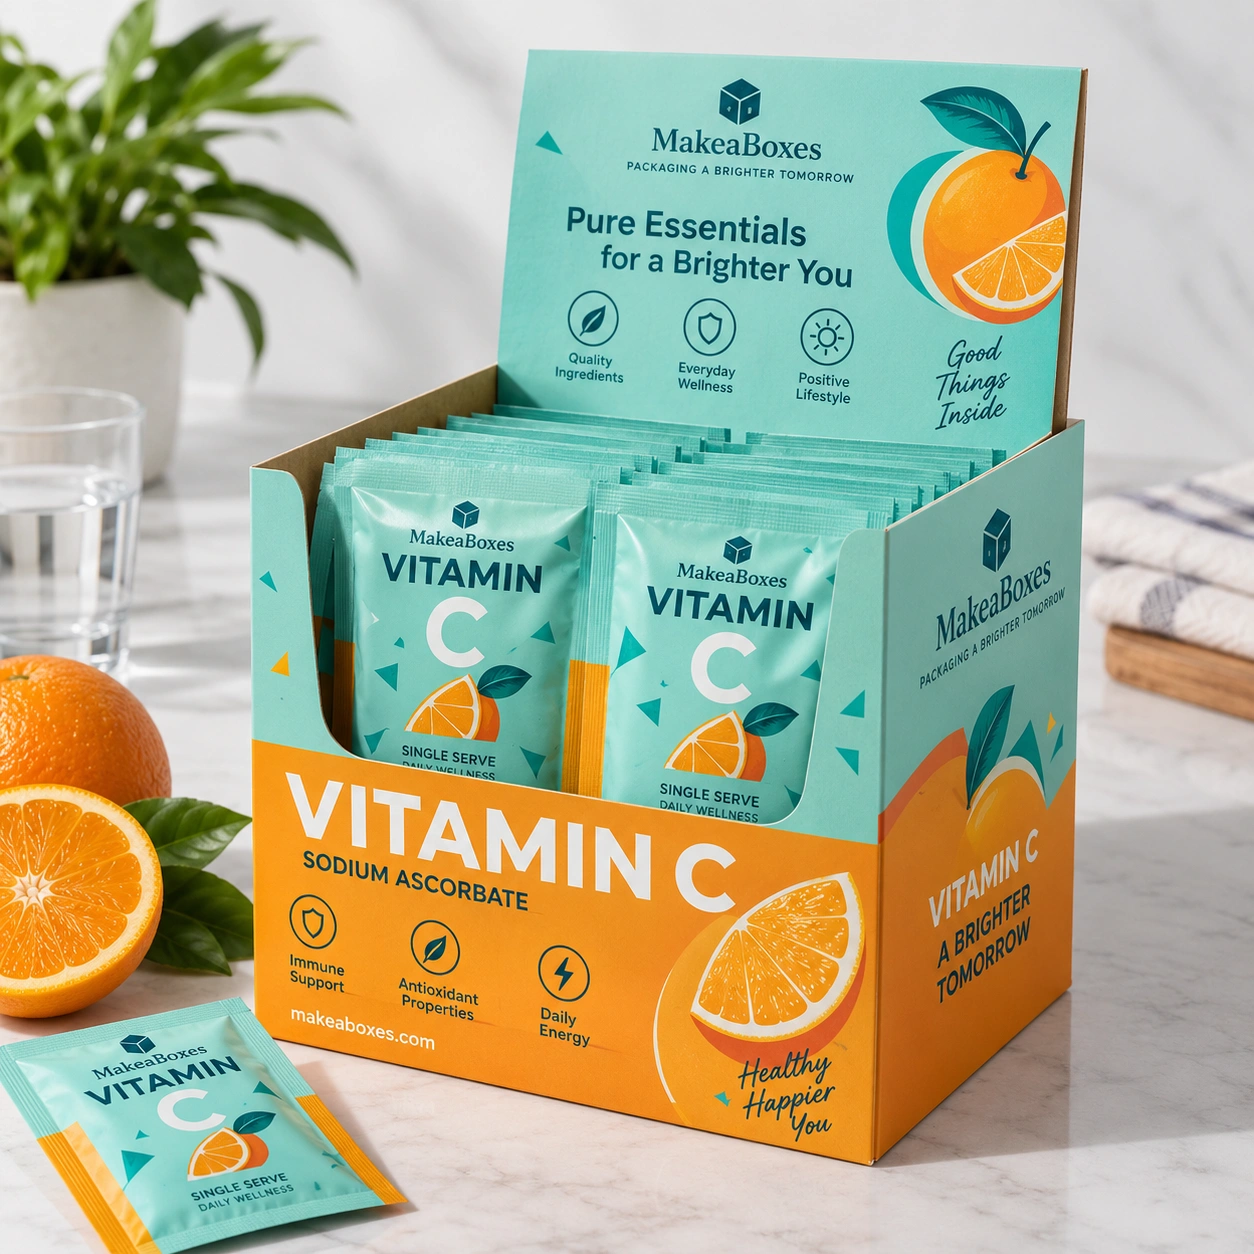
Make A Boxes designs custom health care boxes that give your wellness products a clear, consistent presentation from the shelf to the moment the pack is opened. We build each box around your product’s dimensions, branding and handling needs: printed cartons for retail, fitted interiors for coordinated sets, or sturdier structures for delivery.

Our healthcare and wellness packaging brings the practical details together: room for readable product information, secure support for the contents, and a considered opening experience. Share your product, quantity and launch date, and let’s plan a box that works for your business.

Custom Healthcare Boxes 1

Find the Right Health and Wellness Packaging for Your Products

A compact carton, a multi-part kit and a boxed device each call for a different approach to health and wellness packaging. Explore the product range below to find the right starting point for your dimensions, accessories and display requirements.

Test Kit Packaging 1

Test Kit Packaging

Keep sealed components, instructions and accessories arranged clearly. Compartments organize the kit and make every piece easy to check before packing.

Medicine Boxes 1

Medicine Boxes

Build the outer carton around your sealed primary pack and leaflet. Clear panels leave room for approved details, with a closure suited to how the pack will be handled.

vitamin packaging 1

Vitamin Packaging

Create a coordinated carton around your bottle or sealed container. Leave room for approved information while keeping every variant easy to tell apart within the range.

Medical Device Packaging 1

Medical Device Packaging

Support the device and accessories with a fitted interior. Room for cables, instructions and protective or sterile primary packaging keeps everything secure.

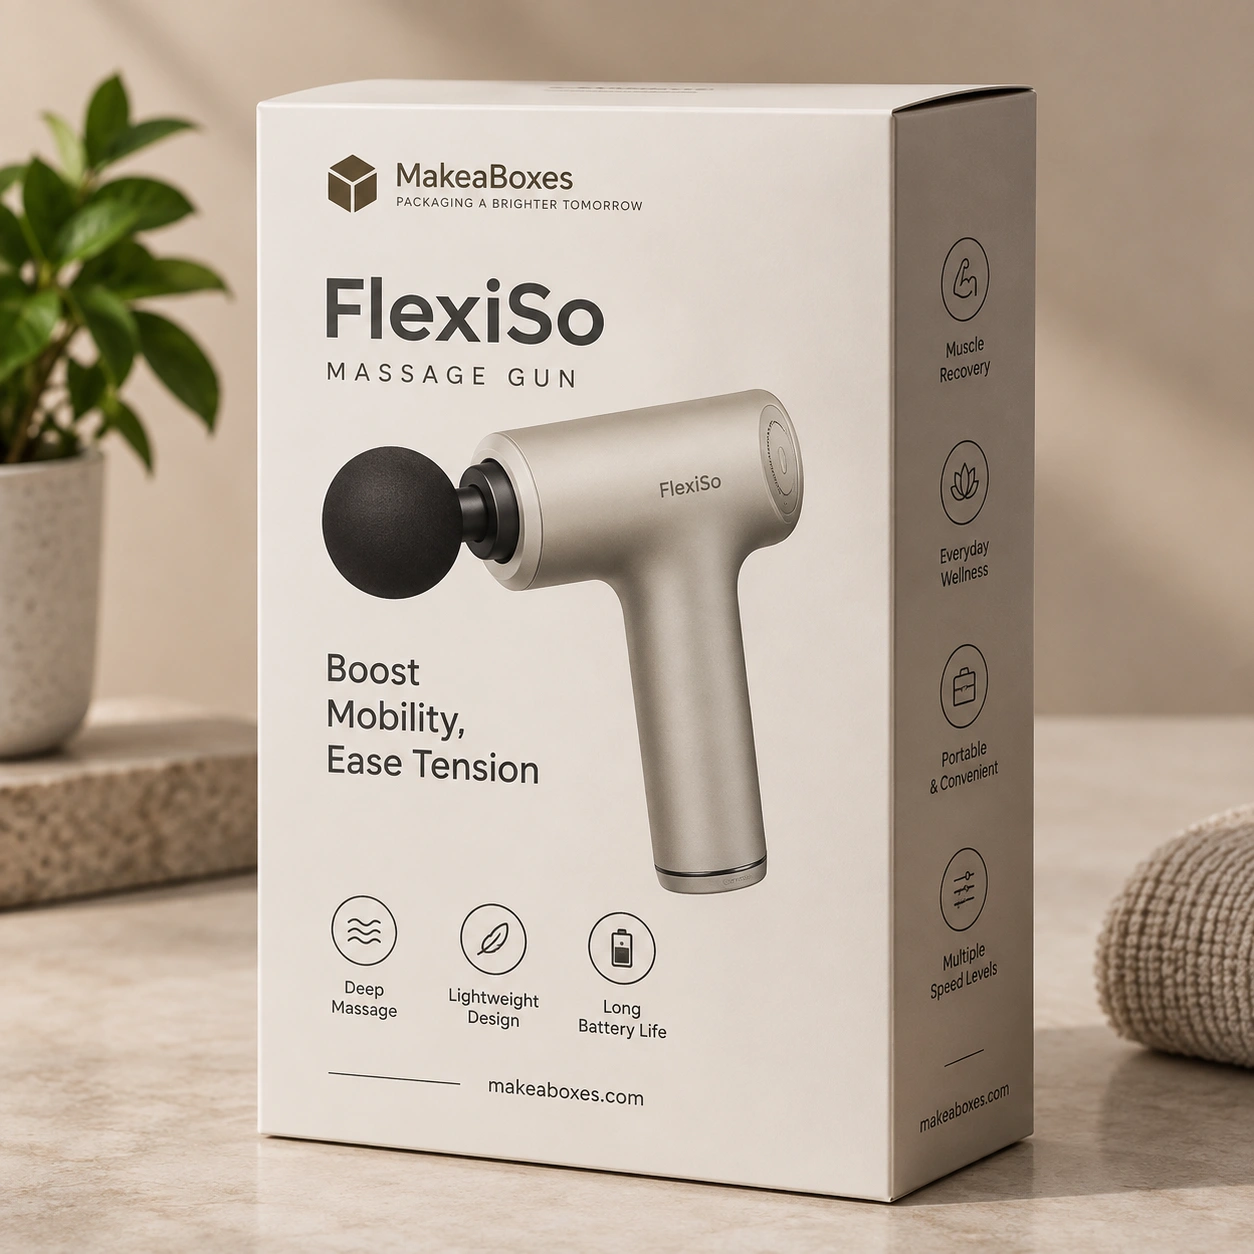
Custom Massager Packaging 1

Custom Massager Packaging

Present the main unit, attachments and charging accessories in their own dedicated spaces. A fitted layout helps keep loose parts from marking or scratching the product in transit.

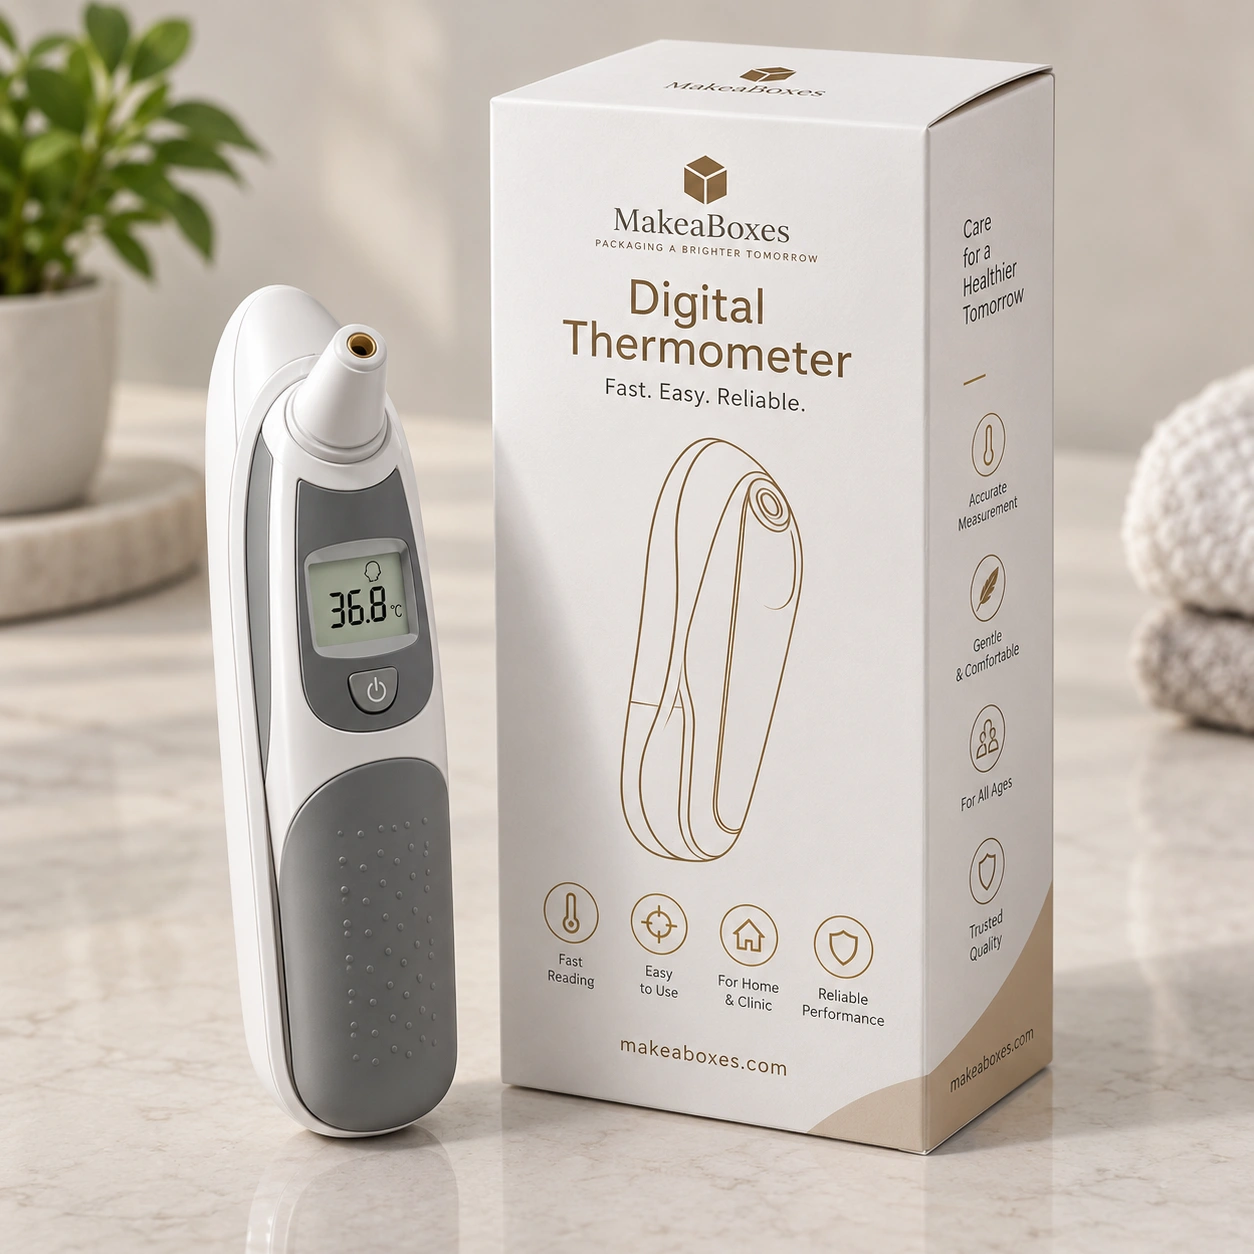
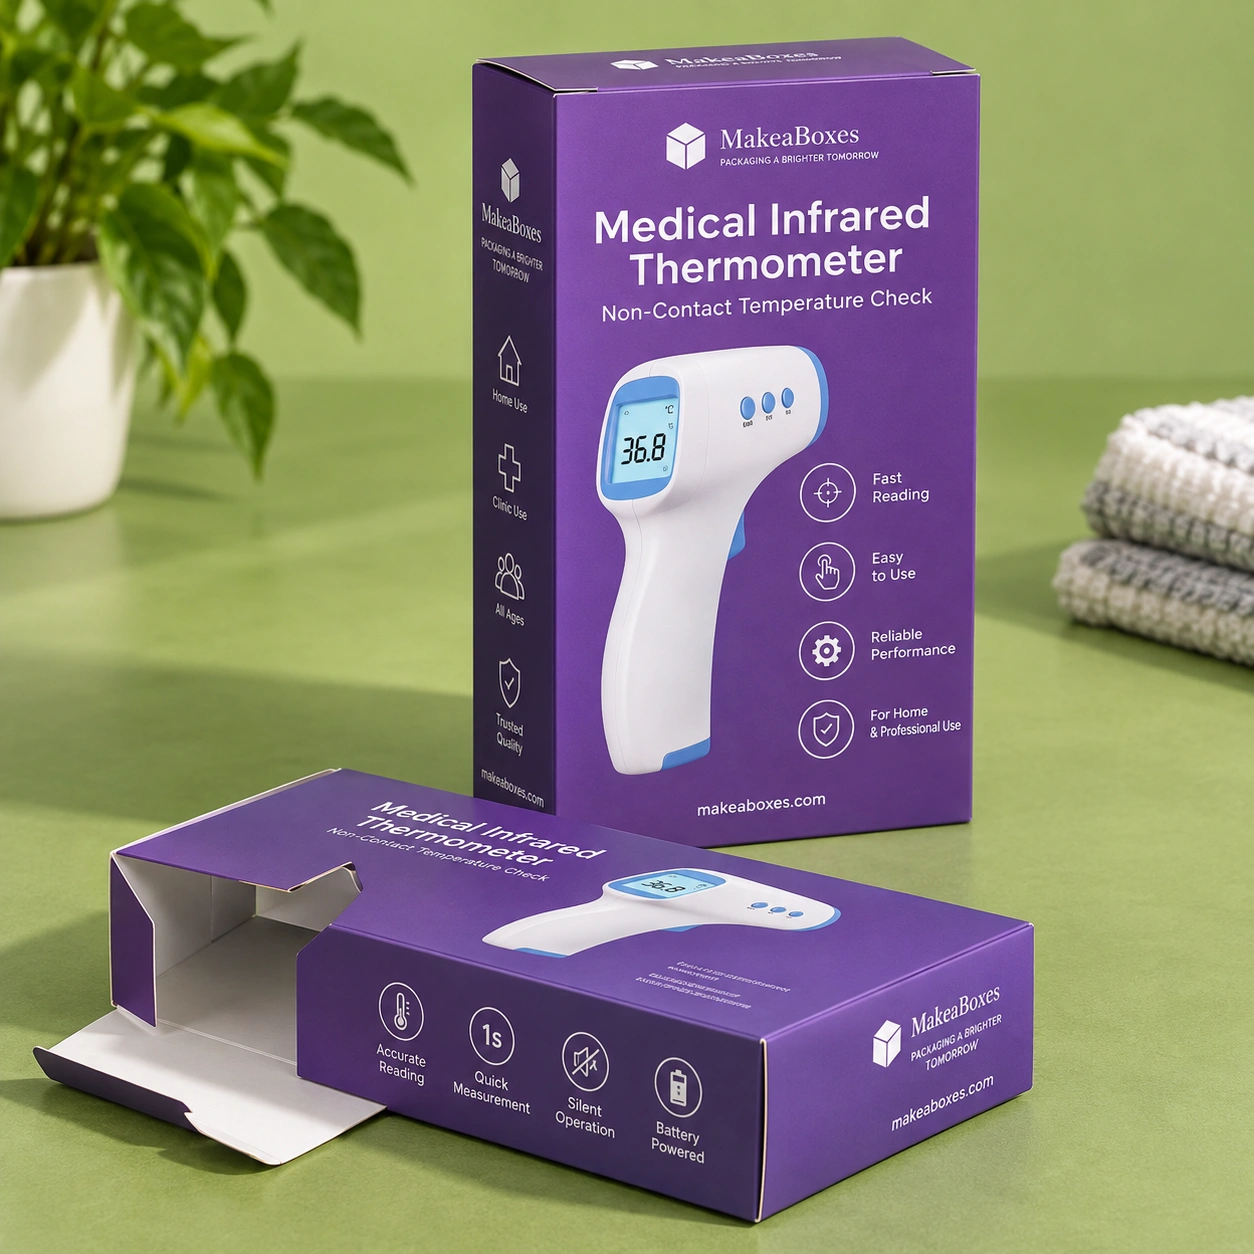
Custom Thermometer Boxes 1

Custom Thermometer Boxes

Size the carton around the thermometer, protective case and instructions. An organized interior keeps every component together for a neat presentation.

Get A Quote

    Healthcare Packaging and Wellness Packaging Built for Clear Information and Reliable Handling

    Packaging has to work for everyone who touches it. The person who fills it, the retailer who sells it, and the customer who opens it. We plan custom healthcare packaging around each of those moments, from helping a shopper locate the right product variant to letting them remove the contents without wrestling against an insert. The outer box handles presentation and handling; any direct-contact seal, sterile barrier or temperature-control system still needs its own product-specific specification.

    For a wider view of available structures, explore our custom packaging boxes and bring your preferred format to the quotation discussion.

    Why Wellness Brands Choose Custom Health Care Boxes Wholesale

    Growing product ranges need packaging you can reorder with confidence. Wholesale planning brings quantities, artwork versions and box specifications into a single purchasing decision, so your healthcare packaging and wellness packaging stay consistent as the range grows. Keep a record of the approved dimensions, board, print and insert layout for every item, so future orders have a clear reference to work from. Make A Boxes helps you compare options for routine replenishment, new launches, and coordinated retail collections; request pricing at the quantities you actually expect to use, with room for storage space and upcoming artwork changes, as well as unit cost.

    20250809 0207 Box Design Concepts simple compose 01k25r3v4kft9v2s1hzw7dqzr6 2 e1754688420891

    Space for Information That Matters

    Allocate print panels early so approved instructions, product identification and barcodes fit comfortably. Keeping critical copy clear of folds, seams and decorative finishes makes the finished carton easier to read at a glance.

    20250809 0208 Design Like You simple compose 01k25r6pcmeqpae4am041qpfqq 1

    A Fit That Supports the Contents

    Plan the box and insert together from day one. Support the product at the right contact points, protect anything that protrudes, and leave enough clearance to load and remove the contents without forcing it.

    20250809 0216 Minimalist Guidance Icon remix 01k25rjn5zesw83k3qy4vfwme1 1 e1754688644610

    Consistent Presentation Across Your Range

    Use a shared layout for logos and product names, with clear visual differences between sizes or versions. Consistency helps a growing collection look connected while keeping each item instantly identifiable.

    20250809 0213 Versatile Packaging Solutions simple compose 01k25rf3h9ebjvxyj4b6k7pvt5 1 1

    Packing That Is Easier to Repeat

    Think through how the carton arrives, how it folds, and where each component goes. A simple assembly sequence and clear product codes help your team pack repeat orders with fewer avoidable mix-ups.

    Custom Health Product Packaging From Board to Branding

    Start with what your pack needs to do, then decide how it should look. Good health product packaging design accounts for the contents, print area, packing process, and customer experience together, not any one of those in isolation. The options below help you prepare a useful brief and compare recommendations for your project.

    SBS Cardstock 14pt 24pt

    SBS Paperboard

    A smooth, white printing surface for folding cartons with detailed artwork and clear text. Specify thickness against the packed weight and the support the structure needs.

    Rigid Chipboard 1.5 3mm

    Kraft Paperboard

    A brown surface for a natural visual style. Review a print sample when color accuracy matters because the board color influences the appearance of printed artwork.

    Corrugated E flute

    Corrugated Board

    Fluted construction for larger packs and distribution formats. The appropriate board grade depends on the complete load, stacking conditions and route through delivery.

    Kraft board

    Rigid Chipboard

    Wrapped board for presentation sets that need firm walls and a defined interior. Consider how the assembled format will affect storage space and shipping volume.

    Materialized Paperboard

    Recycled Content Options

    Request documented recycled-content information for the proposed stock. Evaluate appearance and performance alongside the material claim before approving the final specification.

    Water resistant coated board

    Surface Coatings

    Compare coatings or laminations for their appearance, resistance to rubbing and compatibility with labels. Select the finished combination with its intended disposal route in mind.

    Two Piece Rigid Box

    Tuck End Cartons

    A compact retail format with folding flaps and practical print panels. Check the closure against the product weight, orientation and packing method.

    Sleeve Tray

    Supported Bottoms

    Auto-bottom or other reinforced constructions can add base support where needed. Review assembly and loading with the actual contents before choosing the format.

    Tuck End Box Straight or Reverse

    Sleeve and Tray Sets

    A sliding sleeve can reveal a neatly arranged interior. Plan a secure fit between the parts and leave a comfortable way to grip and open the tray.

    Hexagon or Pyramid Shape

    Lid and Base Boxes

    Two-piece structures make coordinated sets easy to present. Match lid depth, internal support and opening clearance to the contents and expected handling.

    Hexagon or Pyramid Shape

    Mailer Formats

    Consider a mailer structure for direct deliveries or recurring orders. Choose its construction around the packed system and the protective materials used inside.

    Window Cut Out

    Dividers and Inserts

    Separate multiple components and keep accessories in assigned positions. Include finger access or removal space where a tight fit could make the product difficult to retrieve.

    CMYK Offset Printing 2

    Primary Pack Clearance

    Measure the complete sealed container or protected product. Include caps, cases, labels and any protruding features when determining usable internal dimensions.

    Pantone Spot Colors

    Secure Component Layout

    Position the heaviest pieces first, then place smaller accessories where they cannot migrate or rub against delicate surfaces. Confirm the layout with a packed sample.

    Digital Short Run Printing

    Leaflet Placement

    Reserve a defined location for folded instructions and printed information. Make them easy to find without disturbing the product or blocking the closure.

    Hot Foil Printing

    Closure Access

    Balance a secure close with a clear opening method. Check tabs, tear features and grip areas with users in mind, especially where small parts are difficult to handle.

    UV Printing 2

    Transport Protection

    Assess the retail carton together with any outer shipping case and cushioning. A neat shelf pack may need additional protection when sent through a parcel network.

    Thermographic Printing 2

    Sample Evaluation

    Load, close and open a sample using the intended packing sequence. Review product movement, removal effort and print orientation before committing to production.

    Matte Lamination 4

    Full Color Printing

    Use CMYK artwork for illustrations, product imagery and color-led ranges. Keep important text legible and confirm the artwork against the final dieline.

    Gloss Lamination 3

    Spot Color Matching

    Discuss spot colors when consistent brand colors are a priority. Approve the result on the selected board and finish because materials affect color perception.

    Soft Touch Coating

    Logo and Panel Layout

    Place branding where it remains visible after assembly. Keep the product name, version and key identification details easy to distinguish at shelf distance.

    Spot UV

    Interior Print

    Use the opening panels for a welcome message, customer support details or a QR destination. Keep these additions clear of essential product information.

    Foil Stamping 2

    Selective Finishing

    Foil, embossing or spot UV can highlight a logo or graphic. Apply effects selectively so reflections and textures do not interfere with small print or barcode areas.

    EmbossingDebossing

    Variant Identification

    Combine clear wording with color or graphic cues for different versions. Keep the artwork filename and approval record tied to the correct item and carton size.

    Custom Inserts

    Opening Evidence

    Discuss seals or tear features where visible evidence of opening is needed. The chosen system should be evaluated for the specific product, closure and handling conditions.

    PVC or PET Windows

    Barcode and Batch Areas

    Reserve flat, accessible areas for printed codes or applied labels. Test the final contrast, surface and placement with the equipment used for scanning or coding.

    Magnetic Closures 2

    Window Options

    A window can show the product or a distinguishing feature. Consider privacy, light exposure, panel strength and film separation before selecting the opening.

    Ribbon Pulls or Tabs

    Multi Item Organization

    Use compartments or layered trays to arrange a set in the order it should be unpacked. Avoid adding layers that slow access without serving a practical purpose.

    Dust Covers

    Storage Configurations

    Compare flat-packed and assembled formats against available space and labor. Confirm how cartons and inserts will be bundled, labeled and supplied to your packing team.

    Vent Holes

    Disposal Guidance

    Provide specific material and separation information for the finished pack. Recyclability depends on its components and the collection services available to customers.
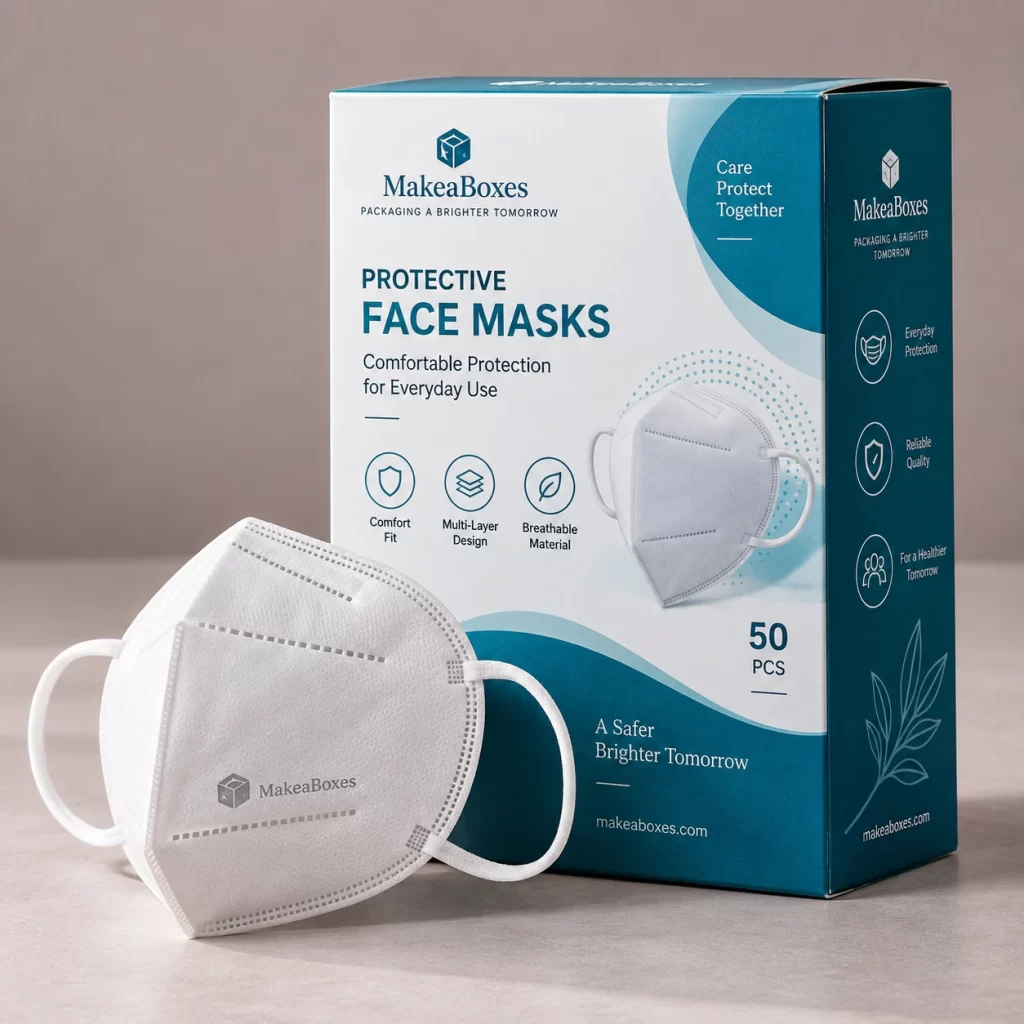
    Plan Health and Wellness Product Packaging Around Actual Use

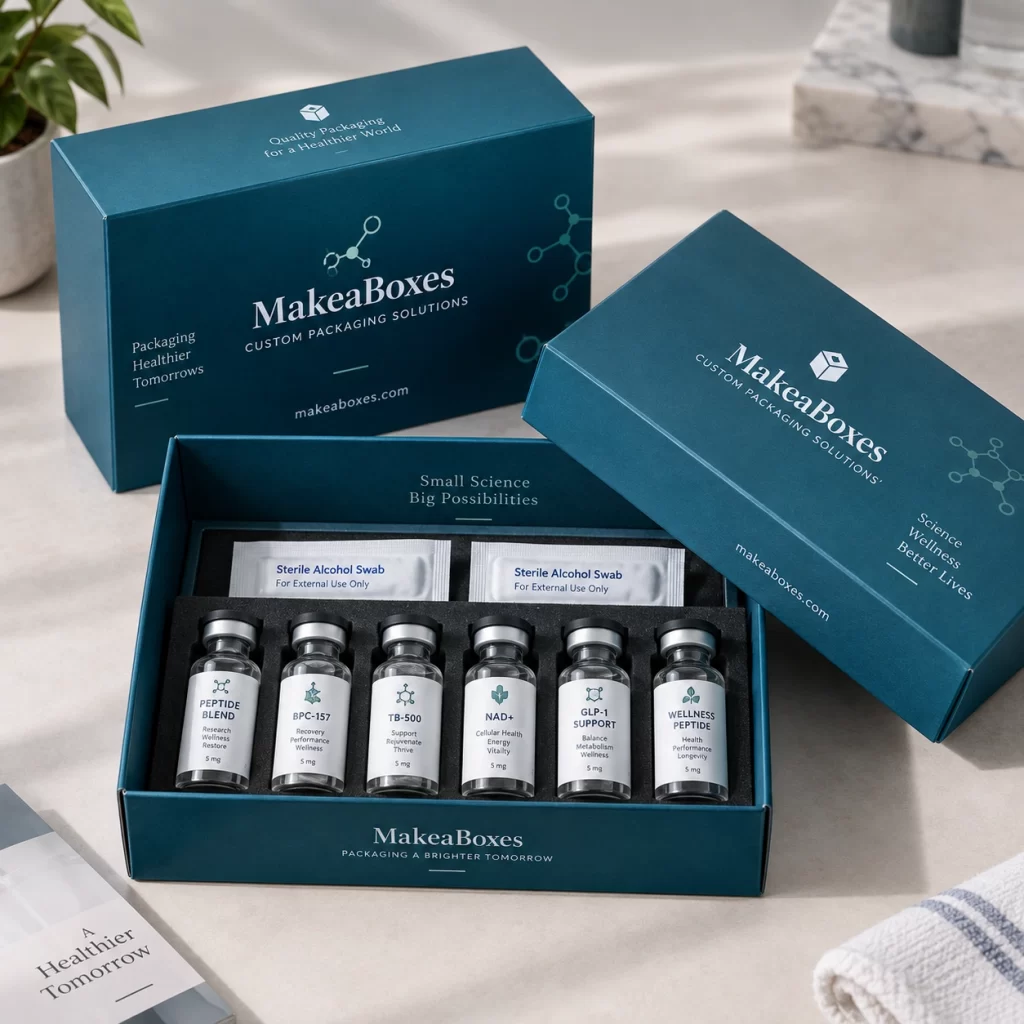
    A useful sample review starts with the full contents laid out on the packing table. Assemble the box, add every component, and walk through the intended sequence step by step. Can the packer see at a glance that everything's included? Does the lid close without pressure? Can the customer find the instructions and remove the product comfortably? These checks turn dimensions on a drawing into a packaging decision you can actually trust.

    Take a retail item that ships with an accessory and a leaflet; for example, it needs more than a cavity for the main product. Giving each element its own defined place makes packing and opening easier, and keeps an accessory from resting against a sensitive surface. Evaluate that arrangement before you finalize the outer size.

    Size Guide

    Measure the Complete Contents

    Record length, width and height in the packed state, including the primary container, protective case, attachments and printed information. State the units clearly in your brief

    Allow for the Interior

    Add space for the insert, dividers or cushioning you’re planning to use. Clearance should reflect the item and its protective system, not one blanket allowance applied to every product.

    Check the Closed Pack

    Make sure the flaps close without bulging and the contents stay supported. Test removal as well as loading, a product that fits can still be awkward to unpack.

    Confirm the Outer Dimensions

    Check the assembled exterior against shelves, shipping cases and storage requirements. The usable space inside the carton is never quite the same as its outside measurements.

    Custom Healthcare Boxes 2
    Custom Healthcare Boxes 3

    How We Develop Your Packaging

    1. Share Your Brief
    Send product measurements, packed weight, order quantities, sales channel, approved copy and launch timing. Include photographs or samples that show the complete set of contents.

    2. Agree the Structure
    Compare materials, closures and interior support. Identify which dimensions are critical and whether the project needs a separate retail carton and shipping pack.

    3. Prepare the Artwork
    Place the design on the agreed dieline. Check product names, version details, fold positions and space for approved information before requesting a proof.

    4. Review Proofs and Samples
    Use a digital proof to check the artwork and request an appropriate physical sample when fit, color or finish needs closer review. Record the approved version.

    5. Confirm Production Details
    Agree quantities by item, finishes, packing configuration and schedule. Keep these details with the final specification so both the first order and reorders have a clear reference.

    6. Plan Delivery and Replenishment
    Confirm the delivery destination and how the boxes will be received and stored. Share future quantity needs early if several product launches or replenishment orders are planned.

    Your Box, Your Way Let’s Start Creating Now…..

      Frequently Asked Questions

      Got questions? We’ve got you. Whether it’s sizing, style, or shipping, we’re here to help you box it right, every step of the way.

      It is packaging developed for health-related and wellbeing products, with attention to protection, identification and presentation. On this page, the focus is printed outer boxes and fitted interiors. The requirements for direct product contact, sterility or temperature control must be addressed separately for the particular product.

      Start with the packed weight, product shape and handling route. Paperboard can suit compact retail cartons; corrugated board may suit distribution; rigid board can support presentation sets. The construction, interior and closure matter alongside the material. Share a packed sample or complete measurements for a useful recommendation.

      Yes. Share vector logo files, color references and the approved product copy. We can plan the artwork around the selected structure. Your product team should confirm the required information for its category and market before print approval; a packaging artwork proof does not replace that review.

      Yes. Identify the dimensions, artwork version and quantity for each item. Ask for the minimum quantity for each size and print version, and compare price breaks against your expected usage. That helps keep purchasing decisions realistic when demand differs across the range.

      Make A Boxes lists standard production of 8–12 business days after final design approval. Confirm the schedule for your chosen structure, quantity and finishes in the quotation. Include time for samples, revisions and shipping when planning the date your finished products need to be ready.

      That depends on the finished combination of board, coatings, adhesives, windows and inserts, as well as local collection services. Ask for material details and any component-separation guidance before placing a recyclability claim on the pack. A brown or paper-like appearance alone does not establish recyclability.

      Scroll to Top